![]()
![]()
![]()
![]()
![]()
![]()
![]()
![]()
|
|
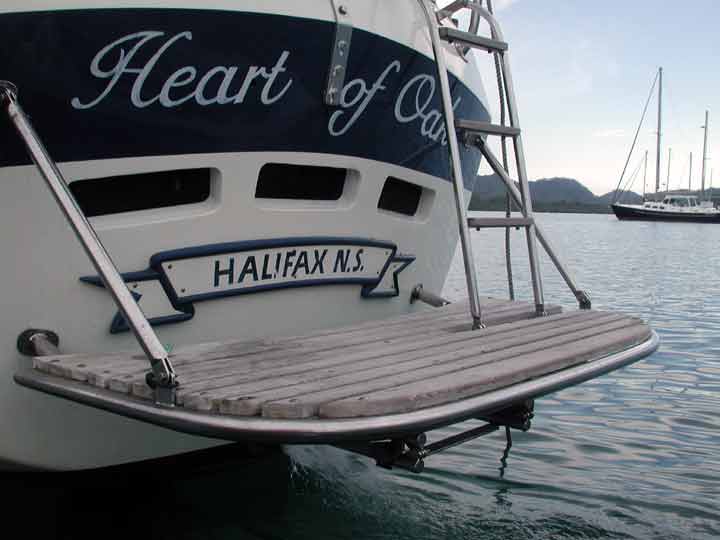
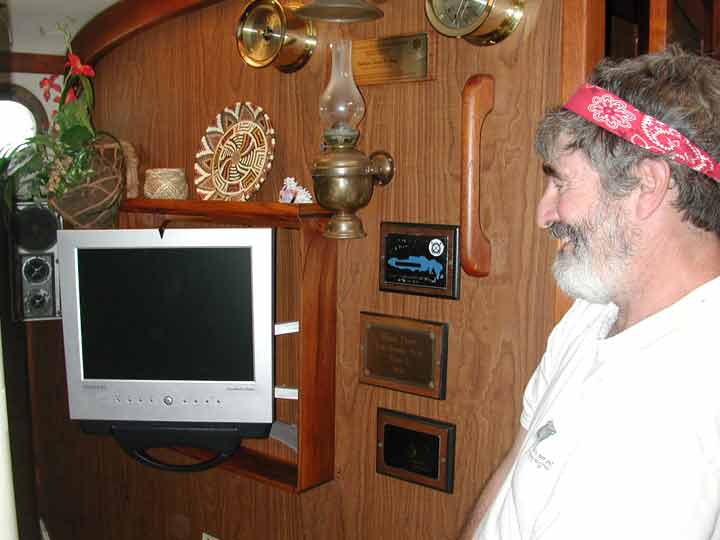
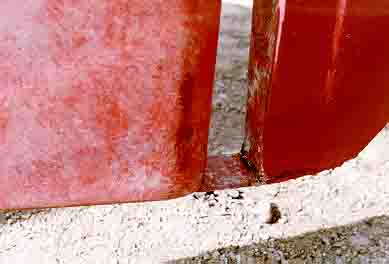
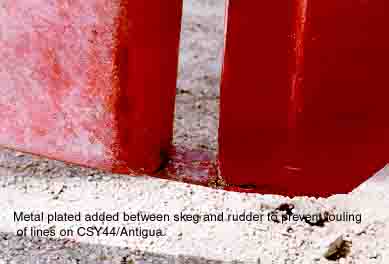
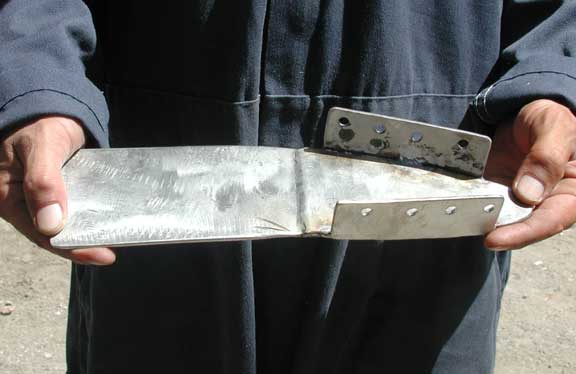
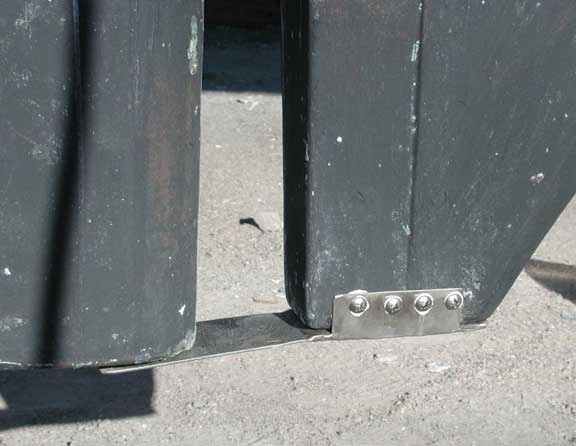
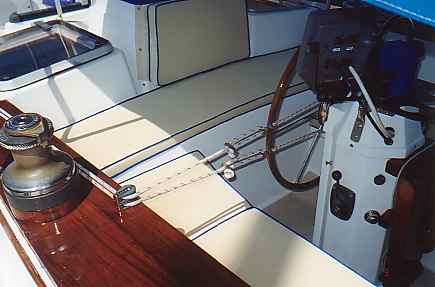
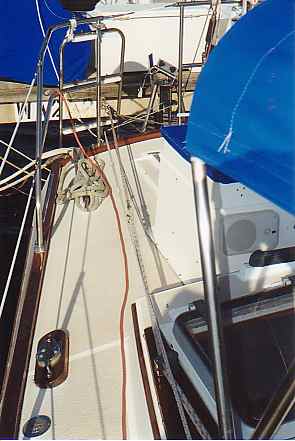
In this section, we include information and pictures some of the project ideas and improvements from other CSY owners. We have a separate section for the improvements we have made on our own boat. Many of them were driven by our plan to sail SIESTA from San Francisco to the Florida Keys, through the Panama Canal. Below is a picture of HEART OF OAK's beautiful and functional swim platform, which includes steps down to the water that neatly tuck out of the way. The platform can be folded way against the transom by removing the stainless steel brackets and the ladder to the deck. Below, Craig Owings showed us his neatly mounted flat panel display which can rotate every-which-way, but can also disappear behind an attractive teak cabinet made by Sarah Owings, a very talented wood-worker. Fouling Preventer Plate, from S/V Jolly Mon, Antigua 44 (hull identical to CSY 44) This modification was installed on Jolly Mon by the time George and Helen Smith purchased the boat. According to George, the plate is attached to the skeg by three screws, and is not attached but overlaps the bottom of the rudder, to prevent lines from fouling between the rudder and the skeg.
We implemented the same concept on SIESTA, while in San Carlos, in the Sea of Cortez, Mexico (see pictures below):
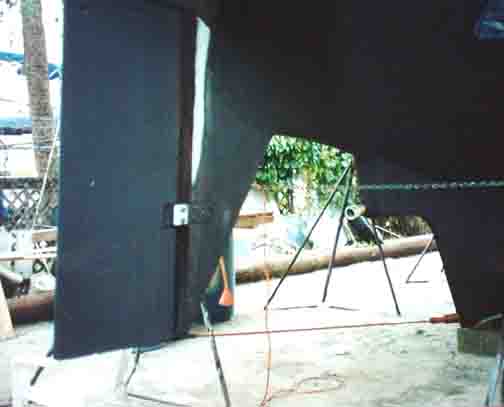
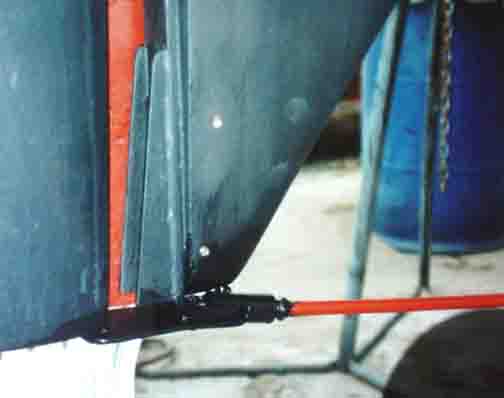
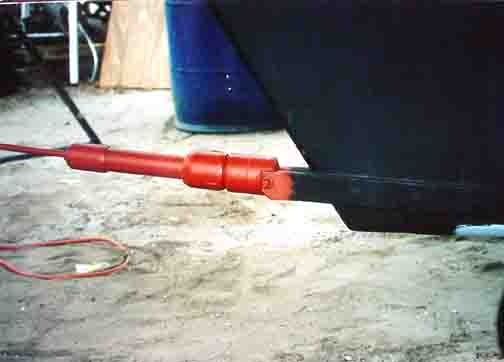
Fouling Preventer Cable Assembly, from S/V MemoriRose, CSY 44 Pilothouse
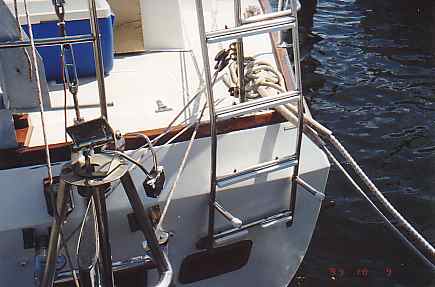
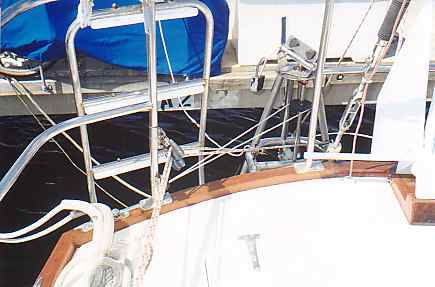
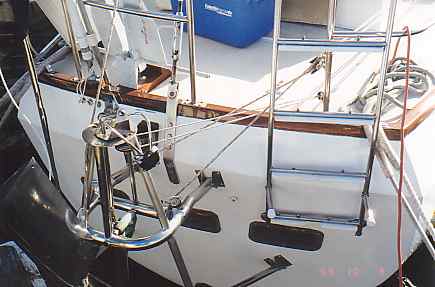
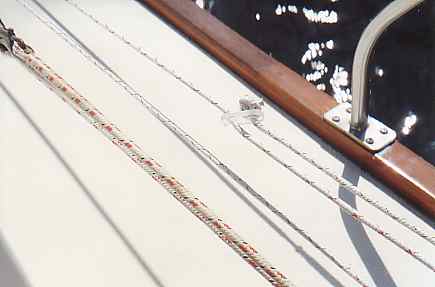
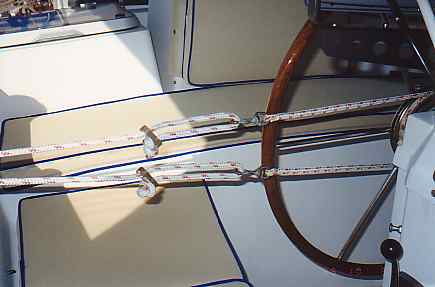
Description by Ron Sheridan, owner of Memorirose: "Above are three photos of the Propeller Guard cable system showing the Keel end, Skeg end and Entire cable. The Forward End: Two 1 1/2"x3/8" SS straps bent slightly for alignment after the keel to accept turnbuckle (with ALL SS parts, no brass). Several bolts were run thru keel to create sandwich. After end is drilled to accept a bolt for connection to the turnbuckle. Straightforward construction (simple/cheap) at local machine shop. Skeg End: slightly more involved, but with a tape measure and a stool to sit on, the concept evolves as again straightforward. The idea was to create a Horizontal attachment point for the Aft end of the Cable coming from the Aft lower end of the Keel. The plate/attachment point was also to extend back under the Rudder to protect that area from catching an anchor line or fish/crab trap. This plate has to be mounted to the skeg somehow and I chose to attach it to the aft end of the skeg by having it welded at a 90 degree angle to the horizontal surface and reinforced with two uprights. This attachment could have been bored through the sides of the skeg near the bottom with some kind of strap extending around the backside of the lower skeg for the support. Anything that works is OK. The ideas is just to firmly attach a cable (I used 1/4" SS 1x19, 316 grade rigging wire with a STAYLOC fitting on the aft end and a turnbuckle on the front end. I also protected the cable somewhat by covering it with flexible gray PVC. the cover for the turnbuckle was made of various plumbing components of PVS, found at the local Home Dopot outlet with the idea of covering the turnbuckle with a housing that was able to be painted with anti -fouling paint and unscrewable /separable at its thickest point for disassembly or adjustment.)"Installation of Wind Vane on Antigua 44 JOLLY MON by George Smith:
|